
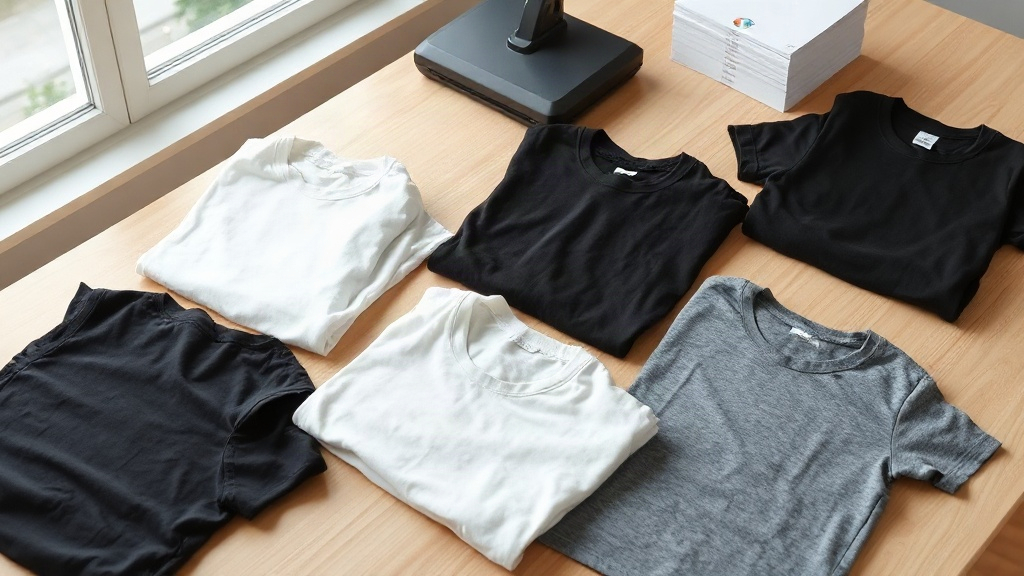
Creating custom shirts is more than a hobby; it's a way to express identity, celebrate events, or build a brand. Whether you're making a team uniform, a family reunion tee, or a product to sell, the process can feel overwhelming if you're new. I've been printing shirts for local sports teams and small businesses for over a decade, and I've learned that the difference between a shirt that gets worn weekly and one that ends up as a rag often comes down to a few key decisions. This guide will walk you through those decisions, from selecting the right blank to choosing a printing method that fits your budget and skill level. By the end, you'll have a clear roadmap to produce custom shirts you're proud to wear or sell.
Start with the Right Blank
The foundation of any great custom shirt is the blank itself. You can have the most stunning design, but if the shirt feels rough or shrinks after one wash, it won't matter. When I first started, I made the mistake of buying the cheapest bulk tees I could find. They pilled, faded, and fit poorly. That experience taught me to prioritize fabric and construction over upfront cost.
Fabric Matters More Than You Think
Cotton is the classic choice for custom shirts, but not all cotton is equal. Ringspun cotton, for example, is softer and more durable than standard open-end cotton. It's made by spinning the fibers into a finer, tighter yarn, which results in a smoother surface that takes prints well. If you're printing for everyday wear, look for 100% ringspun cotton in a weight between 4.3 and 5.3 ounces. Heavier fabrics (6 ounces and up) are great for workwear or streetwear but can feel stiff. Blends like cotton-polyester (50/50) resist shrinking and wrinkles, making them a smart choice for uniforms or events where easy care is a priority. Tri-blends (cotton, polyester, rayon) offer a vintage, soft feel that's popular in retail, but they can be trickier to print on because of the rayon content. For a first project, I recommend a 100% ringspun cotton tee or a 50/50 blend from a reputable blank supplier.
Fit and Sizing: Don't Guess
Fit is personal, but when you're making custom shirts for a group, you need to accommodate different body types. Order a sample in your target size before committing to a bulk order. Check the manufacturer's size chart and measure a shirt you already love. Pay attention to sleeve length, body width, and overall length. Some blanks run small, especially after washing. If you're selling shirts, offering a size range from XS to 3XL is now expected. Remember that unisex styles are not one-size-fits-all; consider offering women's cuts if your audience includes women. I always keep a few sample shirts in my studio so clients can try them on before we finalize the order.
Choosing a Printing Method
Once you have your blank, the next big decision is how to apply your design. The method you choose affects the look, feel, durability, and cost of your custom shirts. There's no single best method; it depends on your design, quantity, and budget. Here's a breakdown of the most common options.
Screen Printing: The Industry Standard
Screen printing is the go-to for bulk orders. It involves pushing ink through a mesh screen onto the fabric. Each color in your design requires a separate screen, so setup costs are higher, but the per-shirt cost drops significantly as quantity increases. For orders of 24 shirts or more, screen printing is usually the most economical choice. It produces vibrant, long-lasting prints that can stretch with the fabric if you use a proper ink and curing process. However, it's not ideal for photographic designs with many colors or gradients. If you're printing a simple logo or text, screen printing is hard to beat. I've seen shirts printed this way last for years with proper care.
Direct-to-Garment (DTG): For Detailed Designs
DTG printing works like an inkjet printer for fabric. It sprays water-based ink directly onto the shirt, allowing for full-color, photographic images without setup fees. This makes it perfect for small batches or one-off custom shirts. The downside is that DTG prints can feel slightly stiff on dark fabrics because a white underbase is needed, and they may fade faster than screen prints after many washes. However, for a small run of 10 shirts with a complex design, DTG is often the most practical and affordable option. Many online services offer DTG, but quality varies, so read reviews and order a sample.
Heat Transfer and Vinyl: For Simplicity and Speed
Heat transfer involves printing your design onto a special paper and then pressing it onto the shirt with a heat press. Vinyl cutting uses a cutting machine to cut designs from colored heat-transfer vinyl. Both methods are great for small batches, personalization (like names and numbers), and quick turnarounds. Vinyl is durable and comes in many colors, including metallics and glitters. The main limitation is that complex, multi-color designs are difficult to achieve with vinyl alone. Heat transfer paper can handle full-color images but may have a slightly plastic feel. For a single shirt or a last-minute gift, these methods are lifesavers. I keep a roll of vinyl and a heat press in my workshop for exactly these situations.
Embroidery: For a Premium Look
Embroidery stitches thread directly into the fabric, creating a textured, high-end look. It's often used for corporate logos, polos, and hats. Embroidery is extremely durable and won't crack or fade. However, it's more expensive per piece and requires digitizing your design, which is a one-time setup fee. It also works best on left-chest logos or simple text; large, detailed designs can be heavy and costly. If you're making custom shirts for a business, embroidery on a polo or button-down can elevate your brand image.
Designing for Success
Your design is the heart of your custom shirt. But a design that looks great on your computer screen might not translate well to fabric. Here are some practical tips to avoid common pitfalls.
Keep It Simple and Bold
Intricate details and thin lines can get lost, especially in screen printing or embroidery. Use bold, solid shapes and high contrast. If you're including text, make sure it's legible from a distance. A good rule of thumb: if you can't read it from six feet away, it's too small. Also, consider the shirt color. White ink on a dark shirt requires a thicker layer and may feel heavier; dark ink on a light shirt is usually more forgiving. I always print a test shirt before a big order to see how the design looks in real life.
Color Matching and Pantones
If you have brand colors, provide Pantone numbers to your printer. Screen printers can mix inks to match Pantones closely, but exact matches are not always possible, especially on different fabric colors. DTG and heat transfer are limited to the CMYK color gamut, which can't reproduce every Pantone. Always ask for a digital or physical proof before production. I learned this the hard way when a client's "red" logo turned out orange on a heather grey shirt. Now I always request a proof.
Placement and Size
Standard placements include full front, left chest, full back, and sleeves. The size of your design should be proportional to the shirt size. A design that looks great on a medium might be too small on a 3XL. Scale your design accordingly. Also, consider the wearer's comfort: a large, heavy print on the chest can feel stiff. For a softer feel, consider a smaller print or a method like DTG or discharge printing (which dyes the fabric instead of adding a layer of ink).
Production and Beyond
Once you've chosen your blank, method, and design, it's time to produce. If you're doing it yourself, make sure you have the right equipment: a heat press for transfers, a screen printing kit for screen printing, or a good relationship with a local print shop. If you're outsourcing, communicate clearly about deadlines, quantities, and quality expectations. Always order a sample before a large run. After printing, proper care will extend the life of your custom shirts. Turn them inside out, wash in cold water, and tumble dry low or hang dry. Avoid ironing directly on the print. With proper care, a well-made custom shirt can last for years.
Frequently Asked Questions
How much does it cost to make custom shirts?
Costs vary widely based on quantity, printing method, and blank quality. A single shirt with DTG might cost $15 to $25, while a bulk order of 50 screen-printed shirts could be $8 to $12 each. Embroidery typically starts around $15 per piece plus a digitizing fee. Always factor in shipping and any setup fees. For accurate pricing, request quotes from multiple vendors and compare.
What's the best printing method for a small batch of 10 shirts?
For 10 shirts, DTG or heat transfer vinyl are usually the most cost-effective because they have no setup fees. Screen printing becomes economical at around 24 pieces. If your design is simple and one-color, vinyl might be the cheapest and fastest. For full-color designs, DTG is a great choice. Consider the fabric and desired feel: vinyl can feel plasticky, while DTG is softer but may fade over time.
Can I print on any fabric?
Most printing methods work best on cotton or cotton blends. Polyester requires special inks (like dye-sublimation) for good results. Nylon and waterproof fabrics are challenging and may require specific treatments. Always test on a swatch before committing. If you're unsure, ask your printer for recommendations based on your fabric choice.
How do I care for my custom shirts to make them last?
Turn the shirt inside out before washing. Use cold water and a mild detergent. Avoid bleach and fabric softener, which can break down the print. Tumble dry on low or hang dry. If you need to iron, do it inside out and avoid the printed area. Following these steps can significantly extend the life of your custom shirts.
Where can I find high-quality blank shirts?
Look for reputable blank suppliers that specialize in wholesale apparel. Many online stores offer sample packs so you can test different brands and styles. Read reviews and check return policies. Building a relationship with a supplier you trust will ensure consistent quality for future orders.