
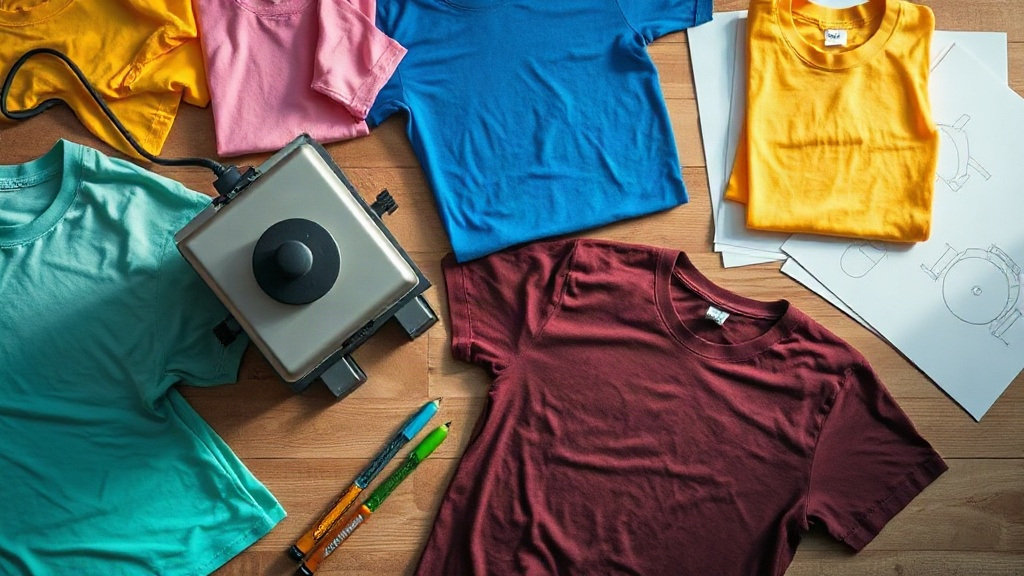
Creating your own custom shirts is one of the most rewarding DIY projects you can take on. Whether you're making a shirt for a special event, promoting your business, or just want a unique piece of clothing, the process is easier than you might think. But with so many options for blanks, printing methods, and designs, it's easy to feel overwhelmed. This guide will walk you through each step, sharing practical tips I've learned from years of printing shirts for friends, family, and small businesses.
Why Custom Shirts Are Worth the Effort
There's something special about wearing a shirt you designed yourself. It's not just about saving money compared to store-bought graphic tees; it's about expressing your personality or brand in a way that feels authentic. I still remember the first shirt I printed for a local band's merch table. Seeing people wear something I created was a thrill. Beyond the personal satisfaction, custom shirts are a powerful marketing tool for small businesses. A well-designed shirt turns your customers into walking billboards.
Choosing the Right Blank Shirt
The foundation of any great custom shirt is the blank itself. Not all blanks are created equal, and the one you choose will affect how your design looks, feels, and holds up over time. When I first started, I made the mistake of buying the cheapest blanks I could find. The shirts shrank after one wash, and the print cracked within weeks. That experience taught me to prioritize quality.
Fabric Matters
Cotton is the most popular choice for custom shirts because it's soft, breathable, and takes ink well. Ringspun cotton is even softer and has a smoother surface, which is ideal for detailed prints. If you want a vintage or heathered look, consider a cotton-poly blend. Blends are also less likely to shrink, making them a good option for uniforms or shirts that will be washed frequently. For performance wear, look for moisture-wicking fabrics, but keep in mind that some printing methods don't adhere as well to synthetic materials.
Fit and Style
Think about who will wear the shirt. A unisex tee is a safe bet for most projects, but if you're targeting a specific audience, consider women's cuts, youth sizes, or tank tops. The style of the shirt should match the vibe of your design. A fitted tee with a modern cut works well for minimalist designs, while a relaxed fit complements bold, retro graphics. Don't forget about the neckline; a crew neck is classic, but a V-neck can add a touch of style.
Color Considerations
The color of your blank will interact with your design. Light-colored shirts are versatile and make dark inks pop, while dark shirts require lighter inks or a white underbase for opacity. If you're printing with heat transfer vinyl, remember that the vinyl color needs to contrast with the shirt. I always recommend ordering a few sample blanks in different colors to see how your design looks on each before committing to a large order.
Popular Printing Methods for Custom Shirts
Once you have your blanks, it's time to choose how you'll apply your design. Each method has its own strengths, and the best one for you depends on your budget, the number of shirts you need, and the complexity of your artwork.
Screen Printing
Screen printing is the gold standard for professional-looking custom shirts. It involves creating a stencil (screen) for each color in your design and pushing ink through it onto the fabric. The result is vibrant, durable, and can handle large orders efficiently. However, screen printing has a steep learning curve and requires a significant upfront investment in equipment. It's best for simple designs with few colors and large quantities.
Direct-to-Garment (DTG) Printing
DTG printing works like a specialized inkjet printer for shirts. It's perfect for full-color, detailed designs, and you can print one shirt at a time without setup costs. The ink is water-based and sits on top of the fabric, so it works best on 100% cotton. While DTG has improved over the years, the print may fade faster than screen printing after many washes. It's a great option for small batches or print-on-demand businesses.
Heat Transfer Vinyl (HTV)
HTV is a favorite among crafters because it's accessible and requires only a heat press or an iron. You cut your design from a sheet of vinyl, weed out the excess, and press it onto the shirt. HTV is durable and comes in a wide range of colors and finishes, including glitter and metallic. It's ideal for simple designs, names, and numbers. However, it's not cost-effective for large, multi-color designs.
Direct-to-Film (DTF) Printing
DTF is a newer method that's gaining popularity. You print your design onto a special film, apply adhesive powder, and then heat press it onto the shirt. DTF works on almost any fabric, including cotton, polyester, and blends. It produces vibrant, stretchable prints that don't require weeding. The main drawback is the need for a specialized printer and powder, but for those serious about custom shirts, it's a game-changer.
Design Tips for Custom Shirts That Stand Out
Your design is the heart of your custom shirt. Whether you're a seasoned graphic designer or a beginner, these tips will help you create something people will love to wear.
- Keep it simple. Bold, simple designs often read better from a distance and are easier to print. Avoid tiny details that might get lost.
- Consider the placement. The most common placement is centered on the chest, but you can also print on the back, sleeves, or even all-over. Think about how the design will look when worn.
- Use high-resolution files. For the best print quality, your design should be at least 300 DPI at the final print size. Vector files are ideal because they can be scaled without losing quality.
- Test before you commit. Print a single shirt first to see how the design looks in real life. Colors can appear differently on screen versus on fabric.
- Mind the copyright. Make sure you have the rights to any images or fonts you use. Using copyrighted material without permission can get you into legal trouble.
Step-by-Step: Making Your First Custom Shirt
Ready to get started? Here's a simple process I use for every custom shirt project.
- Choose your blank. Pick a shirt that fits your style and fabric preference. I recommend starting with a ringspun cotton tee in a light color for your first attempt.
- Create your design. Use design software like Canva, Adobe Illustrator, or Inkscape. Keep it simple and high-contrast.
- Select your printing method. For beginners, HTV is the most accessible. If you want more professional results, try a local screen printer or invest in a DTG printer.
- Prepare your workspace. If using HTV, you'll need a heat press or iron, a teflon sheet, and a weeding tool. Work in a well-ventilated area.
- Print and press. Follow the instructions for your chosen method. For HTV, preheat the shirt, position your design, and press according to the vinyl's specifications.
- Check the result. Gently peel the carrier sheet (if using HTV) and inspect the print. If there are areas that didn't adhere, press again.
- Wash with care. Turn the shirt inside out and wash in cold water. Avoid using fabric softener, which can break down the print over time.
Common Mistakes to Avoid
Even with the best intentions, things can go wrong. Here are a few pitfalls I've encountered and how to steer clear of them.
- Not pre-washing your shirt. Cotton can shrink, so pre-wash and dry your blank before printing to avoid a wrinkled design later.
- Using too much pressure or heat. This can scorch the fabric or cause the vinyl to bleed. Always test on a scrap piece first.
- Ignoring the fabric content. Some methods work better on certain fabrics. For example, DTG is best on 100% cotton, while DTF works on almost anything.
- Skipping the quality check. Inspect each shirt after printing. A small flaw can ruin an otherwise perfect shirt.
Frequently Asked Questions
What is the best shirt blank for screen printing?
For screen printing, a 100% cotton ringspun tee is ideal because it has a smooth surface that allows the ink to sit evenly. Look for a shirt with a tight weave to prevent ink from bleeding.
How do I make my custom shirt print last longer?
Wash the shirt inside out in cold water and tumble dry on low. Avoid ironing directly on the print. Following the care instructions for your specific printing method will also help extend the life of your design.
Can I print custom shirts at home without expensive equipment?
Yes, you can use heat transfer vinyl (HTV) with a regular iron. It's a cost-effective way to get started. Just be sure to use a firm surface and consistent pressure for best results.
What's the difference between DTG and DTF printing?
DTG (Direct-to-Garment) prints directly onto the fabric using water-based inks, while DTF (Direct-to-Film) prints on a film that is then transferred to the shirt. DTF works on more fabric types and produces more vibrant colors, but requires a specialized printer.
How can I ensure my design looks good on a dark shirt?
For dark shirts, you'll need to use a white underbase or choose a printing method that supports white ink, such as screen printing or DTF. Alternatively, use light-colored vinyl or design with negative space in mind.