
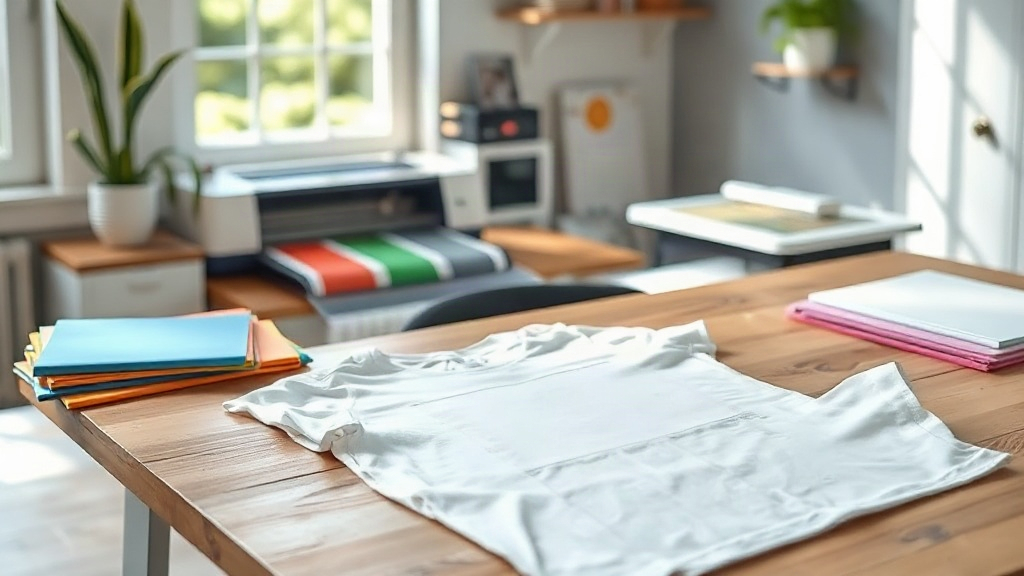
Creating your own custom shirts is one of the most rewarding DIY projects. Whether you're designing a family reunion tee, promoting your small business, or just want a unique wardrobe staple, the process is easier than you might think. But with so many options for blanks, printing methods, and designs, it's easy to feel overwhelmed. This guide will walk you through everything you need to know to make shirts you'll be proud to wear.
Why Make Custom Shirts?
Custom shirts offer a level of personalization that store-bought clothing can't match. You control the fit, fabric, and design. They're perfect for events, gifts, or building a brand. Plus, with the rise of affordable printing services and easy-to-use design tools, you don't need to be a professional to get professional-looking results.
Choosing the Right Blank Shirt
The foundation of any great custom shirt is the blank itself. The quality of your blank affects how your design looks, how the shirt feels, and how long it lasts. Here's what to consider:
Fabric and Weight
Cotton is the most popular choice for its softness and breathability. Ringspun cotton is softer and smoother, ideal for printing detailed designs. For a heavier, more durable shirt, look for cotton blends or 100% cotton with a higher GSM (grams per square meter). If you want a vintage, heathered look, consider a poly-cotton blend.
Fit and Style
Think about who will wear the shirt. Unisex tees are versatile, but women's cuts and youth sizes offer a better fit for specific audiences. Also consider necklines: crew neck is classic, while V-neck adds a modern touch. For a trendy look, try oversized or cropped styles.
Color Matters
Light-colored blanks make dark designs pop, while dark blanks require light or bright inks. If you're using heat transfer vinyl (HTV), remember that some colors show texture differently. Always test print on a similar fabric before committing to a large order.
Popular Printing Methods for Custom Shirts
There are several ways to get your design onto a shirt. Each has its pros and cons, so choose based on your budget, quantity, and design complexity.
- Screen Printing: Best for bulk orders with simple designs. It's cost-effective per shirt but requires setup fees.
- Direct-to-Garment (DTG): Great for detailed, full-color designs. No minimums, but costs more per shirt and works best on 100% cotton.
- Heat Transfer Vinyl (HTV): Ideal for one-off shirts and simple shapes. You'll need a cutting machine and heat press.
- Vinyl and Sublimation: Sublimation is perfect for polyester shirts and all-over prints, while adhesive vinyl is quick for single-color designs.
If you're just starting out, HTV is a forgiving option. For larger runs, screen printing offers the best value. Many online services also offer DTG printing with no minimums, which is great for testing designs.
Design Tips for Custom Shirts
Your design should be clear, appropriate for the shirt color, and sized correctly. Here are some guidelines:
- Keep it simple: Too many elements can clutter the shirt. A single focal point often works best.
- Use high-resolution images: 300 DPI is standard for print. Vector files are ideal for scaling.
- Mind the placement: Left chest prints are typically 3-4 inches wide, full front prints around 12 inches. Measure before you print.
- Consider the fabric: Textured fabrics may require thicker lines for clarity.
Don't forget to check your spelling and get a second opinion before printing. A small typo can ruin an entire batch.
Step-by-Step: Making Custom Shirts with HTV
Let's walk through a simple HTV project, which is perfect for beginners.
- Choose your blank: Pick a cotton or poly-cotton shirt. Pre-wash to avoid shrinkage.
- Create your design: Use software like Cricut Design Space or Silhouette Studio. Remember to mirror your design.
- Cut the vinyl: Place the vinyl shiny side down on your cutting mat and cut with your machine.
- Weed the vinyl: Remove the excess vinyl, leaving your design on the carrier sheet.
- Preheat the shirt: This removes moisture and wrinkles.
- Apply the design: Place the vinyl on the shirt and press according to the vinyl's instructions (usually 305°F for 10-15 seconds).
- Peel and enjoy: Wait for the carrier to cool (or peel hot, depending on the vinyl) and remove it.
With practice, you can complete a shirt in under 15 minutes.
Common Mistakes to Avoid
Even experienced crafters make mistakes. Here are some pitfalls to watch out for:
- Not testing: Always do a test press on a scrap fabric.
- Using the wrong vinyl: Not all vinyl works on all fabrics. Check compatibility.
- Insufficient pressure or time: This leads to peeling. Follow the manufacturer's guidelines.
- Ignoring care instructions: Teach your customers to wash inside out in cold water and avoid ironing directly on the design.
Where to Buy Blanks and Supplies
For high-quality blanks, look for brands like Bella+Canvas, Gildan, or Next Level. You can find these at local craft stores or online retailers. When buying in bulk, compare prices and check for discounts. Don't forget to stock up on vinyl, transfer tape, and parchment paper.
Frequently Asked Questions
What is the best fabric for custom shirts?
100% cotton is the most popular for its softness and printability. However, poly-cotton blends are more durable and resist shrinking, while polyester is best for sublimation. Choose based on your printing method and desired feel.
How do I make my custom shirt design last longer?
Wash the shirt inside out in cold water and tumble dry low or hang dry. Avoid ironing directly on the design; if needed, iron on the reverse side. Also, wait at least 24 hours after printing before the first wash.
Can I print custom shirts at home without a heat press?
Yes, you can use an iron, but results may vary. A heat press provides consistent pressure and temperature, which is crucial for durability. For occasional projects, a good iron can work, but for frequent use, invest in a heat press.
How much does it cost to make custom shirts?
Costs vary: blanks range from $3 to $15 each, and printing supplies add a few dollars per shirt. For HTV, a 12x12 sheet costs about $3-$5 and can yield multiple small designs. Buying in bulk reduces per-unit cost.
What's the easiest printing method for beginners?
Heat transfer vinyl (HTV) is the most beginner-friendly. It requires minimal equipment (a cutting machine and iron or heat press) and is forgiving. Start with simple one-color designs to practice.